


Quickstart
This page takes you from nothing to a file stored in NevTan Drive and shared with a colleague. It should take about five minutes.
Step 1 — Create your account
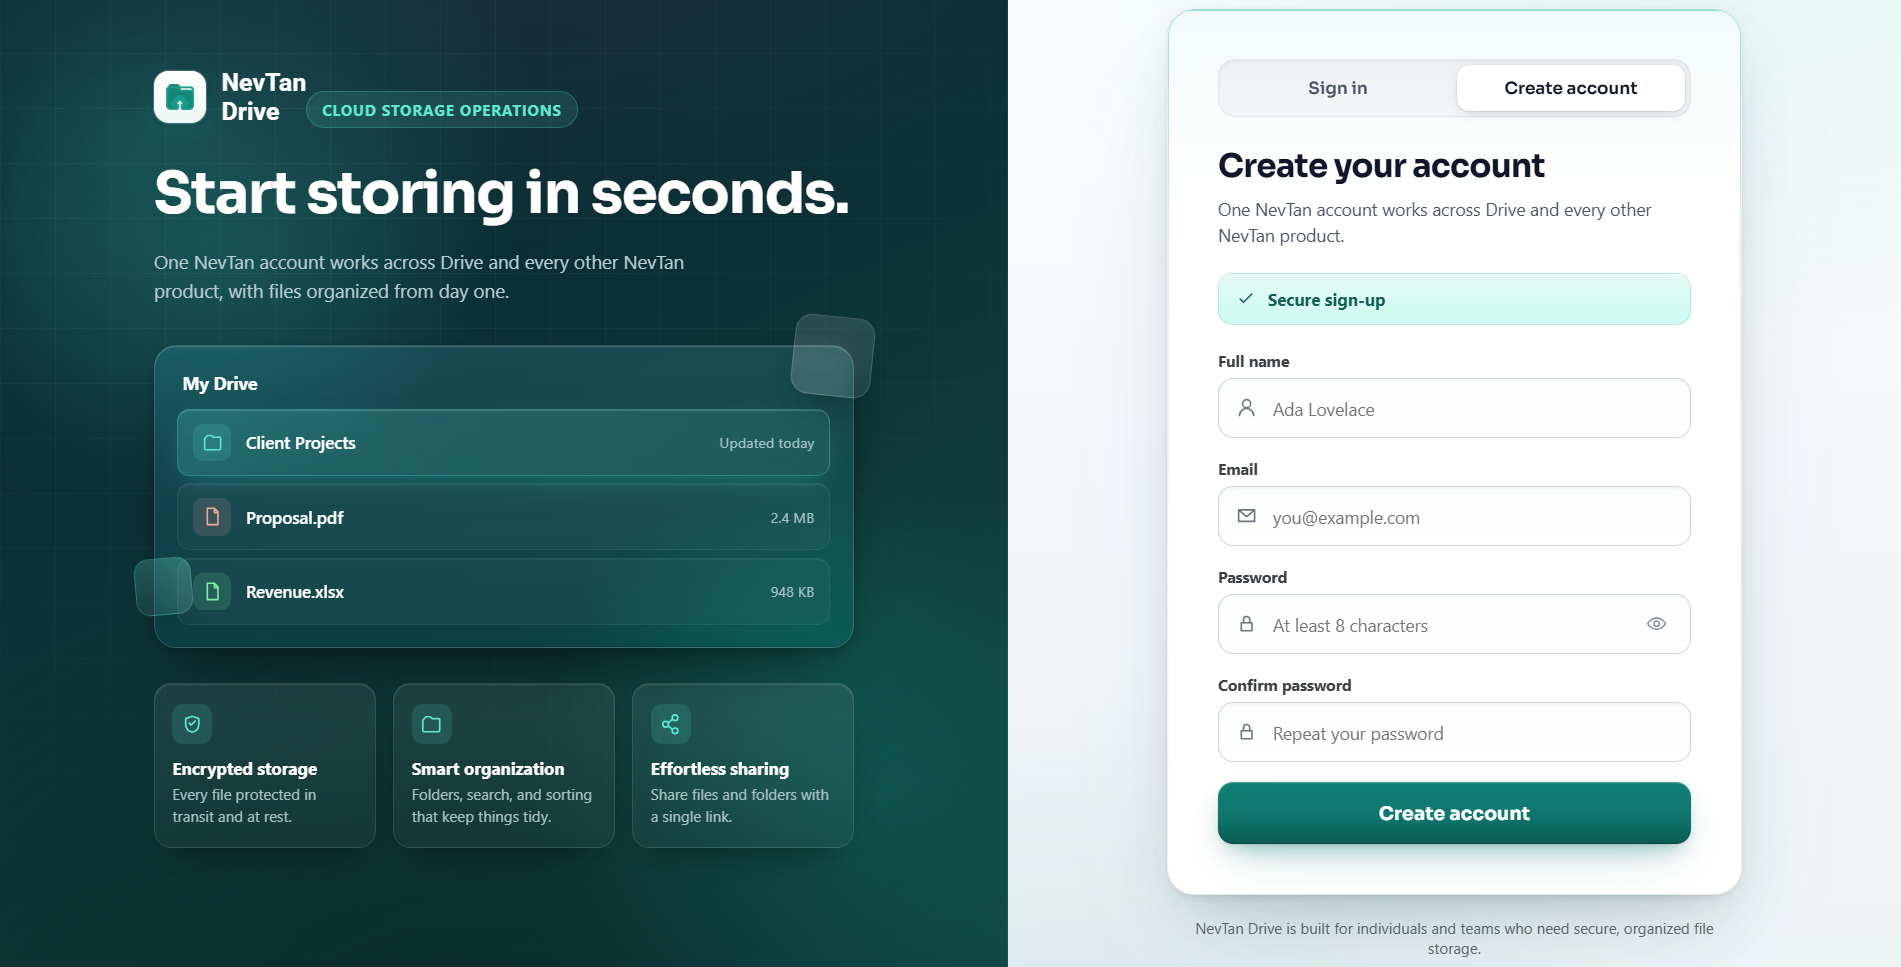
- Open the sign-up pageGo to drive.nevtan.com and choose Get started, or go straight to
/signup. - Fill in your detailsEnter your full name, your email address, and a password of at least 8 characters. Retype the password to confirm it.
- Select Create accountNevTan sends a verification link to the address you entered.
- Verify your emailOpen the email and follow the link. Accounts must be verified before they can sign in — if the message has not arrived, use Resend verification email on the confirmation screen.
Step 2 — Sign in
Go to /login, enter your email and password, and select Sign in. Tick Remember this device if you are on a computer only you use. You land on My Drive.
Step 3 — Upload a file
There are three ways to get a file into Drive, and they all do the same thing:
- Select Upload files at the top right of My Drive and pick one or more files.
- Select Create in the sidebar, then Upload file.
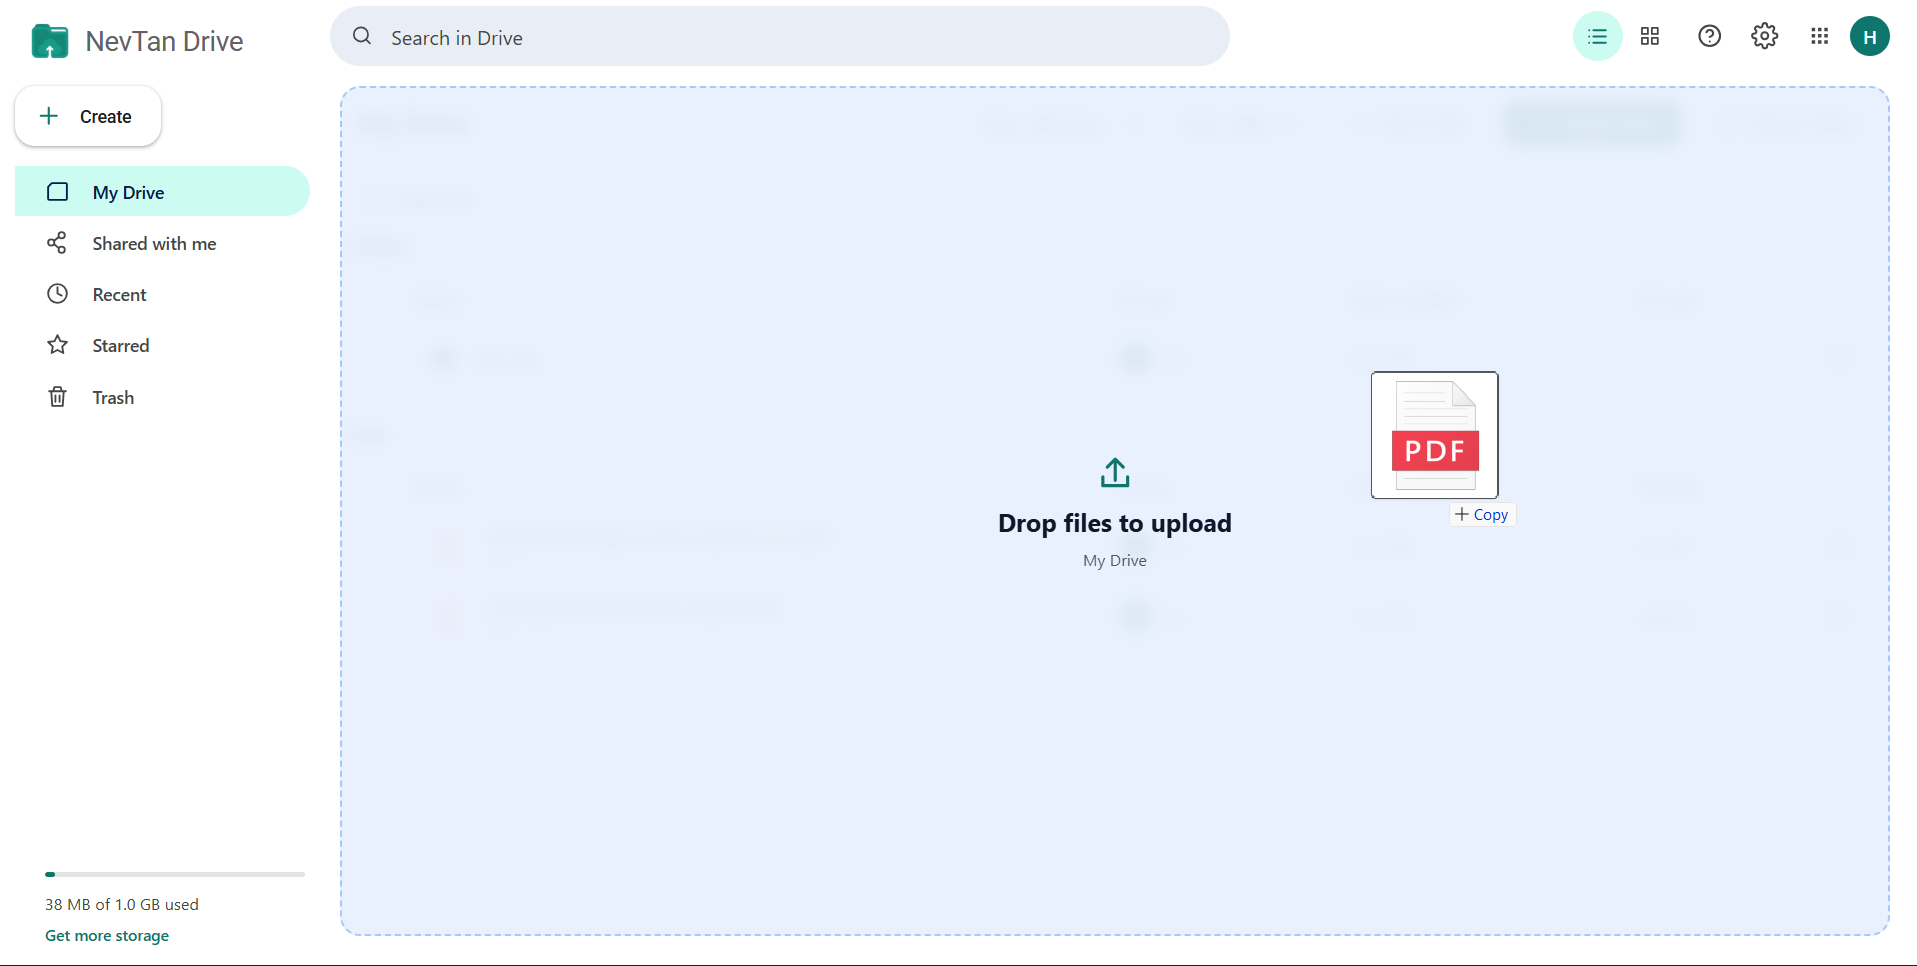
- Drag files from your computer and drop them anywhere on the file area — a Drop files to upload overlay appears while you are dragging.
A progress bar shows the combined percentage while the upload runs, and a toast confirms when it finishes. Files land in whichever folder you are currently viewing.
Step 4 — Open it
Select a file's name to open it in the preview window. From there you can read it, print it, download it, or select Edit to open the full editor for that file type. See Previewing files.
Step 5 — Share it
- Open the file's menuHover the row and select the ⋮ button, then choose Share.
- Invite someone by emailType their email address, pick Viewer, Commenter, or Editor, and select Share.
- Or create a linkUnder General access, switch Restricted to Anyone with the link, choose the role the link grants, then copy the URL.
That is the whole loop. For everything the share dialog can do — expiry dates, link passwords, domain restrictions, and turning off download, copy, or print — see Sharing and permissions.
Common questions
How long does the quickstart take?
About five minutes. There are five steps — create your account, sign in, upload a file, open it, and share it — and nothing to install, because Drive runs entirely in the browser.
Where do uploaded files end up?
In whichever folder you are viewing when you upload. Open the destination folder first, then upload, and the files land there. All three upload routes — Upload files, Create → Upload file, and drag and drop — behave the same way.
What is the quickest way to copy a share link?
Once General access is set to Anyone with the link, the Copy link item in a file's ⋮ menu puts the share URL straight on your clipboard without opening the share dialog at all.